Implementing a Peel-Off Animation
One of my favorite moments of surprise and delight in iOS is the peel-off animation you see when you send a sticker to someone in Messages. In this post, I'll go over how to recreate this animation in SceneKit and how to integrate it into a normal UIKit app. For context, this is what it looks like.
If you look at the animation closely, you can make out multiple separate animations that blend together:
-
The sticker deforms and moves closer to the camera, starting at the top and working its way to the bottom of the sticker.
-
A highlight runs across the surface of the sticker, reinforcing the deformation effect by making us believe that the partially deformed sticker reflects an unseen light source.
A similar highlight was used in the Facebook Paper app, whenever an article was folded up. -
As the sticker bends towards the camera, a diffuse reflection of what appears to be the backside of the sticker is revealed underneath. This isn't necessarily realistic, as the sticky backside of stickers isn't usually printed, but it makes it easier for the user to understand what's going on.
How can we build an animation like this one? Now, I don't know exactly how it
was implemented, but my guess is that the deformation is using a
CAMeshTransform under the hood.
Sadly, that class is not public and getting access to private API usually requires one to relocate to the Cupertino area. So let's try to stay where we are and reimplement it using only public API, that also helps us remain in the good graces of the App Store review team.
One caveat: I was not trying to re-create the animation pixel-perfectly. Instead, consider this blog post as a sketch of the general idea and a start-off point for your own sticker-peeling exploration.
Here's my result:
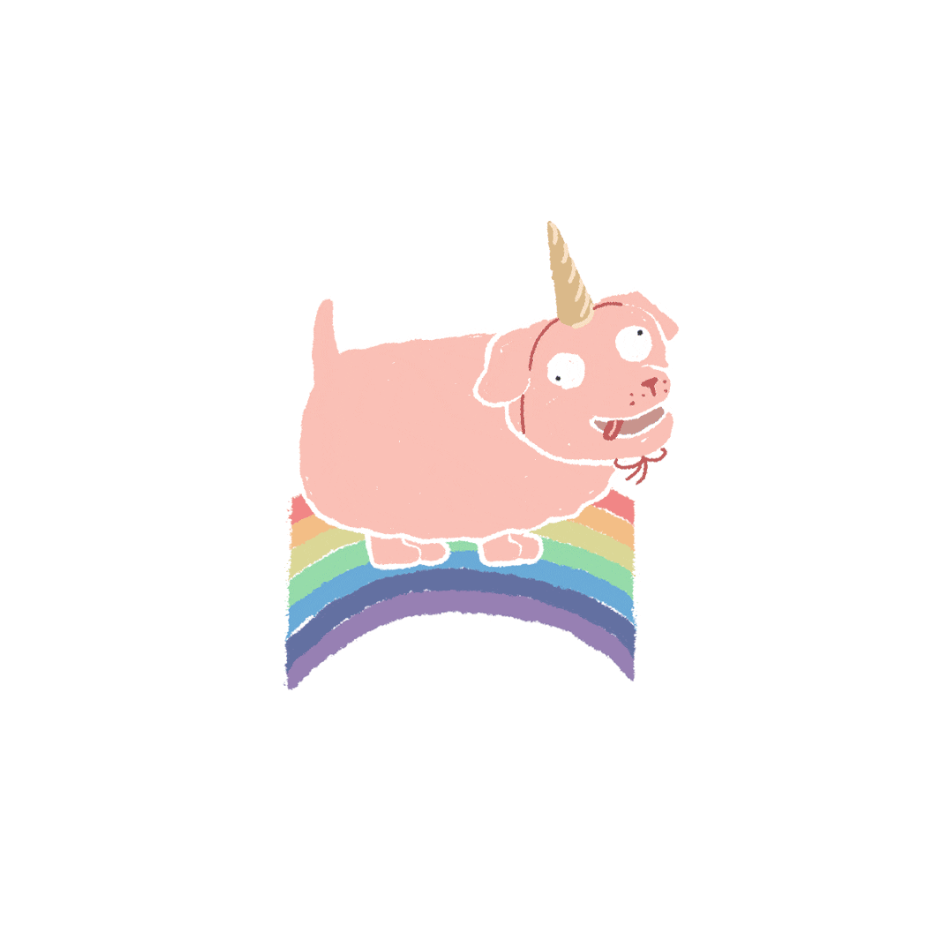
For illustration purposes, I will be using stickers from my friend Thoka's OK Animals Sticker Pack. I strongly suggest you be a patron of the arts and grab yourself a copy. While slightly more expensive than the free coffee you get at work, these animals are just as OK and a lot more charming.
Without access to the super-secret 3D APIs hidden inside Core Animation, we need a different 3D engine to deform our stickers though. SceneKit has made some great strides in the last couple of years and seems like a good choice.
Setting up the Scene
Before we get to draw anything on the screen, we'll have to set up a SCNScene.
Of course, we don't want to render our entire UI using SceneKit, so we'll swap
out whatever view we're going to pick up only for the duration of the
interaction.
I've decided to try as simple as an approach as possible and fake the highlight
on the sticker using textures and not rely on a light source that I have to
position. This way, I can use the default lighting environment that illuminates
the entire scene evenly. My thinking is that this should making it easier to
match the appearance of the sticker rendered in SceneKit to whatever it would
look like in UIKit.
By using a clear background color, we can later easily overlay the rendered scene wherever we need it in our UI.
let sceneView = SCNView(frame: frame)
sceneView.isPlaying = true
sceneView.autoenablesDefaultLighting = true
sceneView.backgroundColor = .clear

let scene = SCNScene()
sceneView.scene = scene
We want to make the transition of the UIView being lifted and the SCNNode
that it will represent seamless. To achieve that, we need to calculate the
distance from the camera to the node based on its desired size in screen space.
You can picture this as an isosceles triangle with the larger dimension of the sticker node as its base and the camera node as its apex. Given the field of view of the camera, we can calculate the distance using the following formula:
let camera = SCNCamera()

let fov = camera.fieldOfView
let dimension = max(image.size.width, image.size.height)
let cameraDistance = dimension / (2 * tan(fov / 2 * .pi / 180))
where dimension is the maximum of either width or height of the sticker and
fov the field of view of the camera in degrees.
We can then use this distance when setting up the camera node. To make sure we
don't move the camera away too far from the node, we set zFar to a bigger
value to make sure our sticker will definitely get drawn.
let cameraNode = SCNNode()
cameraNode.camera = camera
cameraNode.position = SCNVector3(x: 0, y: 0, z: Float(cameraDistance))
cameraNode.camera!.zFar = Double(cameraDistance) + 1

scene.rootNode.addChildNode(cameraNode)
Deforming the Sticker
Next, let's set up the sticker node and add it to the scene. I'm using a simple
plane geometry here and use the image we want as the diffuse material's
contents:
let sticker = SCNNode(geometry: SCNPlane(width: size.width, height: size.height))
sticker.geometry?.firstMaterial?.diffuse.contents = image

scene.rootNode.addChildNode(sticker)
Deforming a mesh means moving its vertices around but if we were to render the sticker node as a wire frame, we would realize that it only consists of a handful of vertices which would not allows us to smoothly bend our sticker and give the user the impression of flexible vinyl.

Luckily, SceneKit offers us a way to easily interpolate additional vertices by adding a tesselator:
let tesselator = SCNGeometryTessellator()
tesselator.edgeTessellationFactor   = 50
tesselator.insideTessellationFactor = 50

sticker.geometry?.tessellator = tesselator
Next, In order to deform the sticker, we need to modify its freshly tesselated mesh. For that, we can define a Shader Modifier, a small Metal program that runs over every vertex or pixel of a material and offers us a hook to update it in place.
But what should this modification to the mesh look like?
Let's think about the peeling for a moment: It's basically a translation of the vertices along the normal of the of the sticker that is gradually applied from top to bottom.
At the beginning of the animation, the top part of the sticker begins to lift while the rest remains static. This means that the displacement is both a function of the y coordinate in the mesh and the fraction of the peel-off process that has completed.
Thus, we can calculate the specific point in the animation t for a given
point on the mesh by subtracting half of its y coordinate in unit space from the
progress the sticker has made. In the Metal shading language, the formula looks
like so:
float t = 2 * (peeled - _geometry.texcoords[0].y / 2);
This way, the top – where _geometry.texcoords[0].y is zero – will start
animating immediately while the bottom – where it is one – will take until
halfway through the animation to start moving.
However, because we don't want the bottom of the sticker to sink below the resting position and the top of the sticker to remain at 100% of the lifting distance, we need to clamp the entire right half of the animation to 0.0 and 0.5 respectively before we normalize it:
float t = 2 * clamp(peeled - _geometry.texcoords[0].y / 2, 0.0, 0.5);
We can then multiply this value with the desired distance of the displacement and the normal to receive the new xyz coordinates of the vertex:
_geometry.position.xyz += _geometry.normal * liftDistance * t;
There's another problem we need to address though. If we animate the sticker
like that, it will not smoothly curve away but rather look like it has a clean
crease at the low and high point, like a bent sheet of metal.
We need some way to smoothly interpolate the displacement, smooth in the
beginning, then steeper as the sticker rises until it eases out towards the top.
Eases out? That sounds familiar!
If we apply what looks like an easing function to the displacement, we can smooth out the creases. I went with a a cubic ease in ease out function, but you can play around with different ones.
With the easing applied to t, the entire shader looks like this:
#pragma arguments
float peeled;
float liftDistance;

#pragma transparent
#pragma body

// How far are we in the animation.
float t = 2 * clamp(peeled - _geometry.texcoords[0].y / 2, 0.0, 0.5);

// Quadratic ease in out
if (t < 0.5) {
    t = (4 * t * t * t);
} else {
    t = ((t - 1) * (2 * t - 2) * (2 * t - 2) + 1);
}

_geometry.position.xyz += _geometry.normal * liftDistance * t;
After setting initial values for peeled and liftDistance through
Key-Value-Coding, we can add the shader modifier code to the node as a String
under the SCNShaderModifierEntryPoint.geometry key:
sticker.geometry?.firstMaterial?.setValue(0.0, forKey: "peeled")
sticker.geometry?.firstMaterial?.setValue(cameraDistance * 0.25, forKey: "liftDistance")
sticker.geometry?.firstMaterial?.shaderModifiers = [
    .geometry: geometryModifier
]
If we then create a CABasicAnimation to animate the
geometry.firstMaterial.peeled property of our sticker node like this:
let animation = CABasicAnimation(keyPath: "geometry.firstMaterial.peeled")
animation.fromValue = 0
animation.toValue   = 1
animation.duration  = 0.8

sticker.addAnimation(animation, forKey: nil)
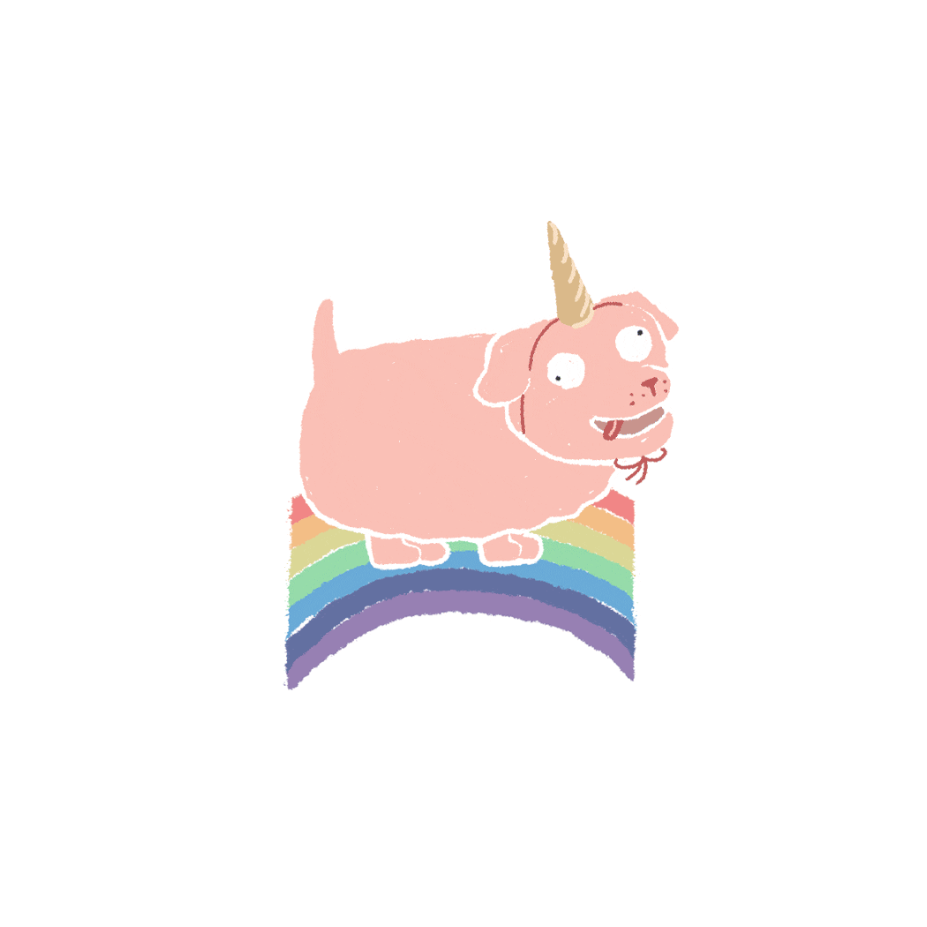
… we'll see it lift and bend as expected:
Why not use a displacement map?
I experimented with the sparsely documented displacement material , but I had seen some odd artifacts where the vertices would not interpolate smoothly during the animation. I also found it slightly easier to update the vertices in a shader modifier rather than first writing the gradient into an intermediary texture every time. At that point, using the same approach for the reflection seemed conceptually simpler, too. That said, you might want to reconsider the approach in this article and investigate displacement maps on your own app.Adding the Highlight
To further improve the illusion, the original animation in Messages moves a highlight over the surface of the sticker. This gives us a clue as to the material of the sticker (shiny plastic) and reinforces the illusion of a deformed surface. As the sticker curves towards the hidden light source, it reflects some of it towards the camera.
As mentioned earlier, I didn't want to bother with setting up lights. Instead, I decided to write a second Shader Modifier, however this time to update the texture of the sticker:
#pragma arguments
float peeled;

#pragma transparent
#pragma body

float t = 2 * clamp(peeled - _surface.diffuseTexcoord.y / 2, 0.0, 0.5);

_surface.diffuse.rgb += float3(pow(sin(3.14159 * t), 12) / 8.0);
The idea is to first calculate the same location and peel-off dependent
animation progress t. We then multiply it with π and feed into a sine function
to get a smooth value that spikes halfway through the animation when the peeling
of the sticker is the steepest. Raising this value to the 12th power makes the
spike a lot sharper while dividing it by 8 reduces its magnitude.
Feeding the resulting value to the float3 function gives us a triple that we
can add to the diffuse material's RGB values for the given pixel. This increases
all three color components by the given value, effectively making them brighter.
All that's left is wrapping the code for the shader in another string and adding it to the material like so:
sticker.geometry?.firstMaterial?.shaderModifiers = [
    .geometry: geometryModifier,
    .surface: surfaceModifier
]
The result looks immediately nicer:

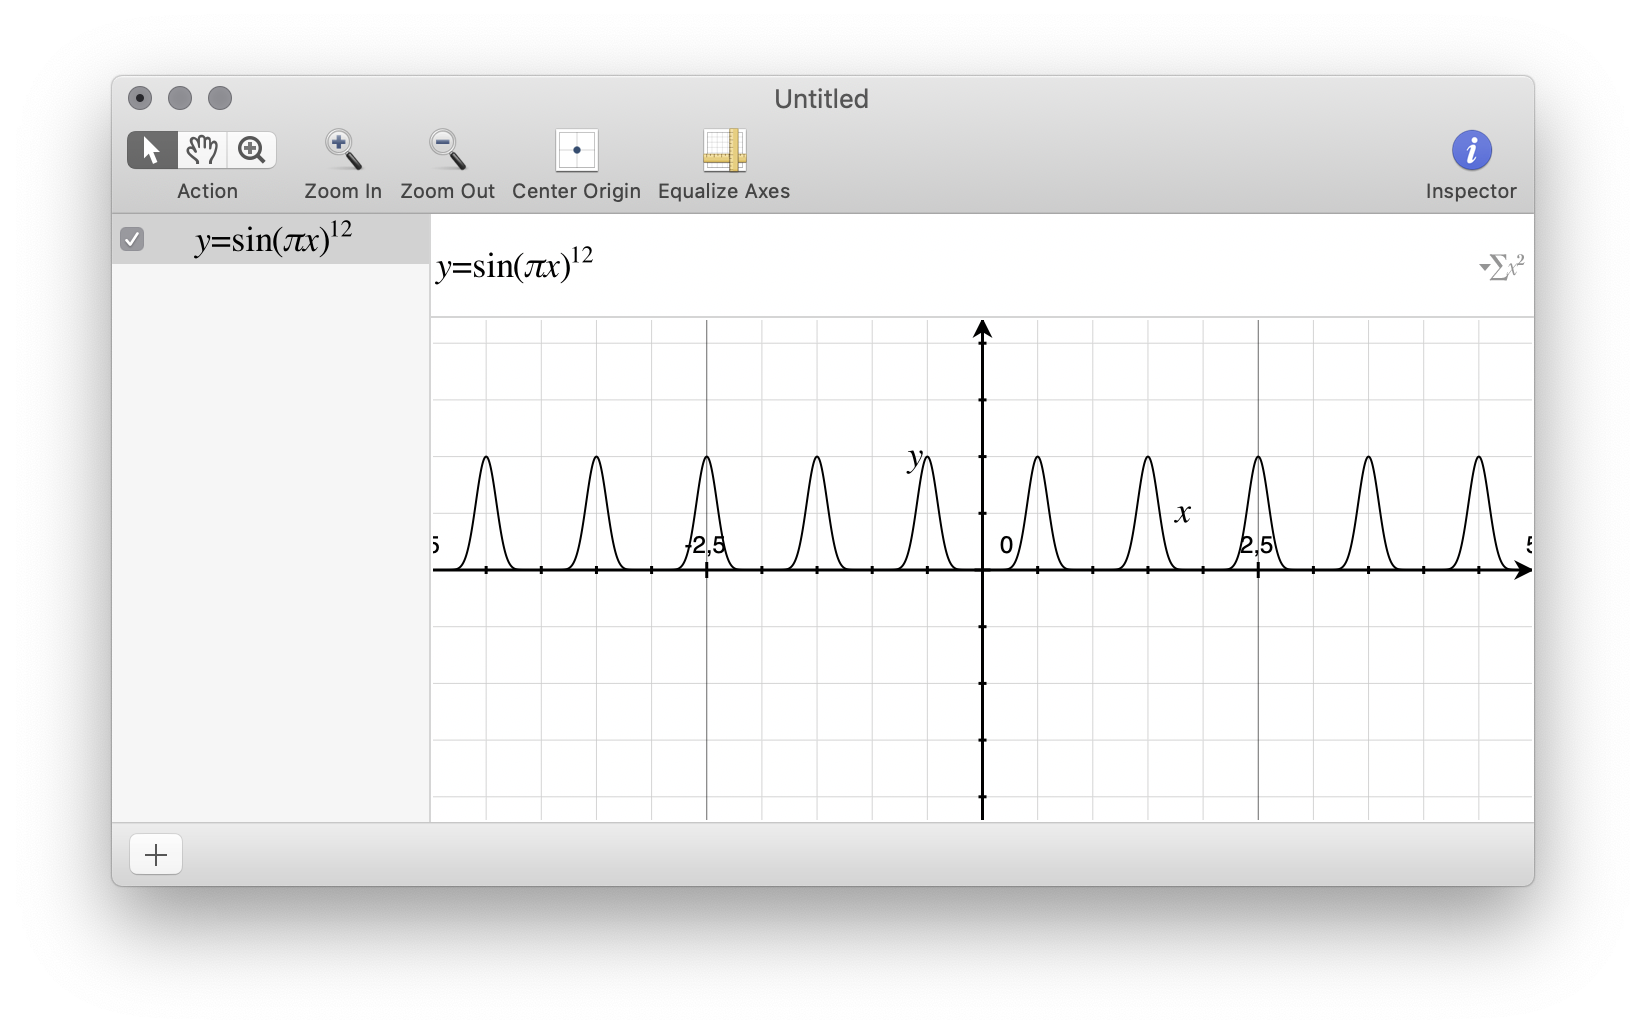
How can I easily iterate on equations like this?
If you don't find building equations like _sine of π times t to the 12th power_ not immediately intuitive (I sure don't), then maybe consider trusty old Grapher: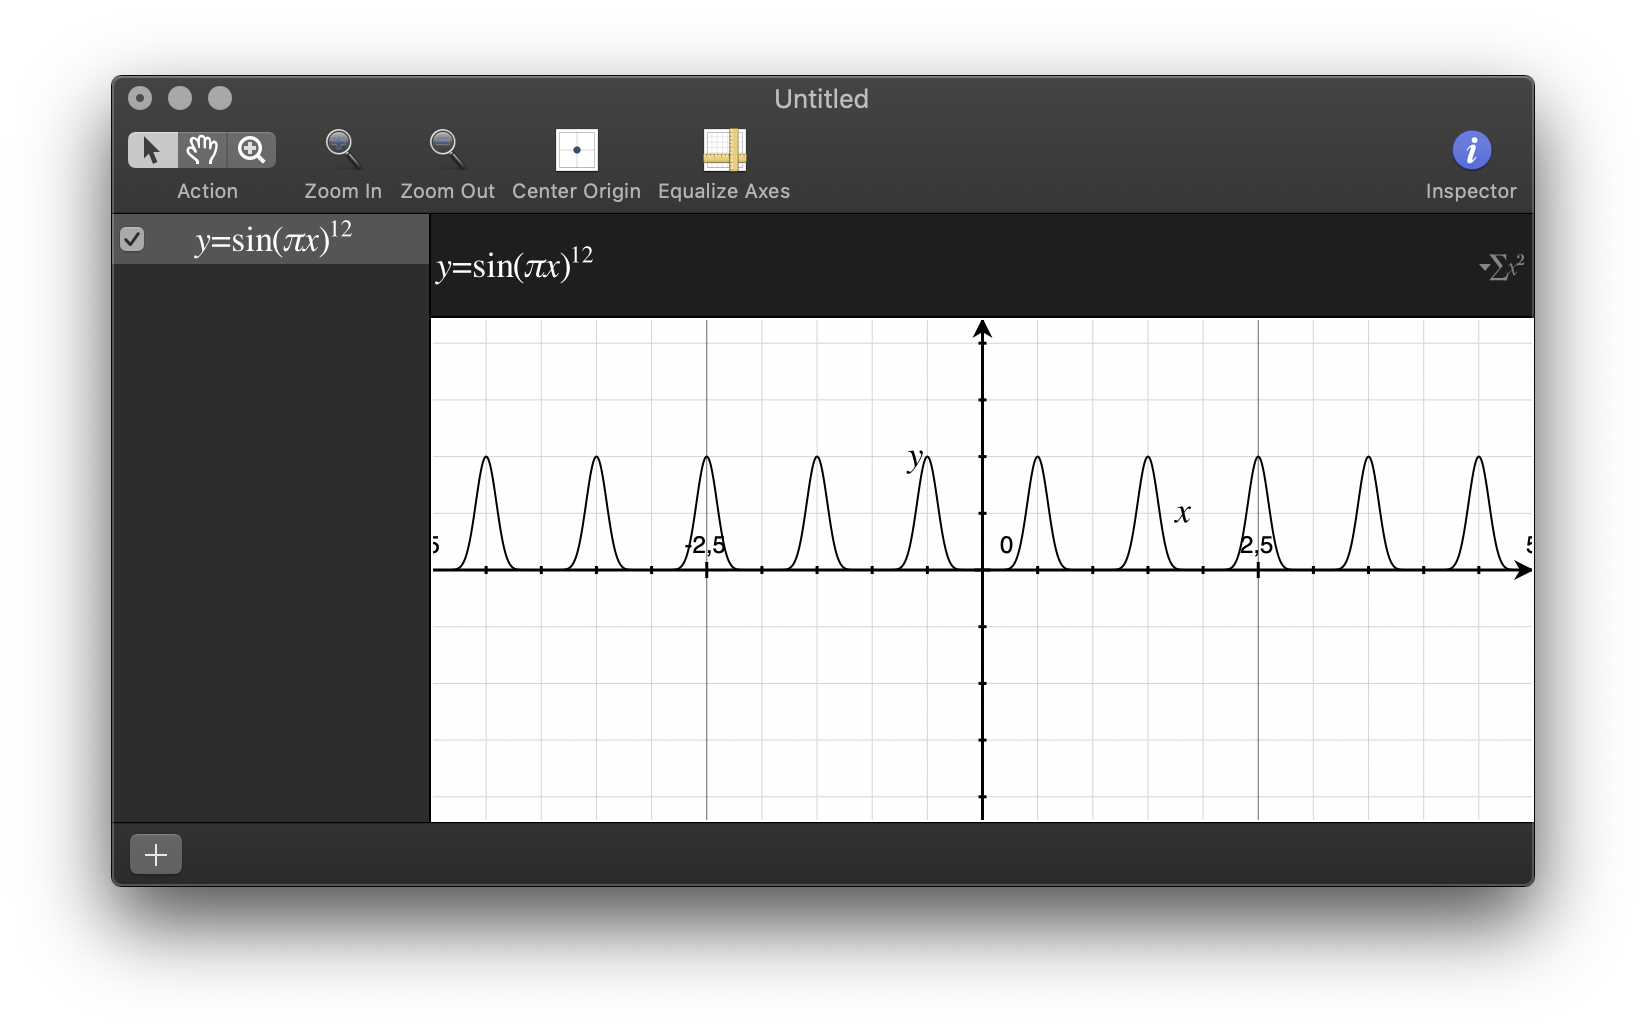
Adding a Reflection
Last but not least, we need to implement the reflection left by the Sticker. To do that, I'm adding a second node to the scene. This time, tessellation is not needed as the mesh will remain flat.
let reflection = SCNNode(geometry: SCNPlane(width: size.width, height: size.height))
reflection.geometry?.firstMaterial?.diffuse.contents = image

scene.rootNode.addChildNode(reflection)
To make sure both nodes are at the same size, we'll use the same position for both of them, implicitly set to (0, 0, 0). If we were to move the reflection spatially behind the sticker, it would get ever so slightly smaller due to perspective.
However, to avoid z-fighting, we will have to manually impose a rendering order and disable reading from the depth buffer of the sticker to make sure it's always on top of the reflection:
sticker.geometry?.firstMaterial?.readsFromDepthBuffer = false
sticker.renderingOrder = 1
In order to make the reflecting surface appear diffuse, we'll increasingly blur
the reflection as the sticker moves farther away from it. To make this easy,
SCNNode has a filters property that allows us to add a CIGaussianBlur
filter to it:
let gaussianBlurFilter = CIFilter(name: "CIGaussianBlur")!
gaussianBlurFilter.name = "blur"
gaussianBlurFilter.setValue(0.0, forKey: "inputRadius")

reflection.filters = [ gaussianBlurFilter ]
With the filter in place, all that is left to do is animate the reflection's blur radius, opacity and transform:
let blur = CABasicAnimation(keyPath: "filters.blur.inputRadius")
blur.duration       = 0.80
blur.fillMode       = .backwards
blur.fromValue      = 0
blur.timingFunction = CAMediaTimingFunction(name: .linear)
blur.toValue        = 11

let transparency = CABasicAnimation(keyPath: "geometry.firstMaterial.transparency")
transparency.beginTime      = 0.32
transparency.duration       = 0.80 - 0.32
transparency.fillMode       = .backwards
transparency.fromValue      = 0.6
transparency.timingFunction = CAMediaTimingFunction(name: .easeInEaseOut)
transparency.toValue        = 0.4

let transform = CABasicAnimation(keyPath: "transform")
transform.beginTime      = 0.32
transform.duration       = 0.80 - 0.32
transform.fillMode       = .backwards
transform.fromValue      = SCNMatrix4Identity
transform.timingFunction = CAMediaTimingFunction(name: .easeInEaseOut)
transform.toValue        = SCNMatrix4MakeTranslation(0, -20, 0)

let group = CAAnimationGroup()
group.animations = [ blur, transparency, transform ]
group.duration   = 0.80

reflection.addAnimation(group, forKey: nil)
Putting everything together, the animation is now complete:
Bundling it up
Now that we have the animation, we still need to integrate it into our application. Since this just a small surprise-and-delight kind of moment, we would ideally use a pattern that doesn't require a lot of set up to integrate.
Imagine this animation regressing in a future iOS update that breaks SceneKit, being able to quickly swap it for something simpler would make us sleep a lot better at night.
Thankfully, iOS 11 introduced UIInteraction, a lightweight
protocol for behavior additions to UIViews.
I've implemented a simple PeelOffInteraction that adds a long press gesture
recognizer to the view it is installed on:
public final class PeelOffInteraction: NSObject, UIInteraction {
    public let gestureRecognizer = UILongPressGestureRecognizer()

    private var offset: CGPoint = .zero

    private var stickerView: StickerView?

    public var view: UIView?

    override public init() {
        super.init()

        gestureRecognizer.addTarget(self, action: #selector(gestureRecognizerDidUpdate))
        gestureRecognizer.minimumPressDuration = 0.2
    }

    public func willMove(to view: UIView?) {
        if view == nil {
            self.view?.removeGestureRecognizer(gestureRecognizer)
        }

        self.view = view
    }

    public func didMove(to view: UIView?) {
        self.view = view

        view?.addGestureRecognizer(gestureRecognizer)
    }
}
When the gesture recognizer updates, we'll attach a StickerView to its view's
window to make sure that the on-screen positions are the same:
@objc
func gestureRecognizerDidUpdate(sender: UILongPressGestureRecognizer) {
    switch sender.state {
    case .began:
        guard let view = sender.view else { return }

        stickerView = StickerView(frame: view.bounds)

        let renderer = UIGraphicsImageRenderer(bounds: view.bounds)

        stickerView!.image = renderer.image { rendererContext in
            view.drawHierarchy(in: view.bounds, afterScreenUpdates: false)
        }

        stickerView!.frame = view.window!.convert(view.frame, from: view.superview!)
        view.window!.addSubview(stickerView!)

        stickerView!.setIsPeeledOff(isPeeledOff: true, animated: false, start: {
            view.isHidden = true
        })

        offset = sender.location(in: view)
    // …
    }
}
The image of the StickerView (and thus the contents of the SCNNodes'
diffuse materials) are set to a snapshot of the original view that is being
lifted. As long as the view can be snapshot like this, this UIInteraction can
animate a lift.
Next the new StickerView to peel and hide the original view once the animation
starts:
@objc
func gestureRecognizerDidUpdate(sender: UILongPressGestureRecognizer) {
    switch sender.state {
    // …
    case .changed:
        guard let view = sender.view else { return }

        stickerView?.frame.origin = sender.location(in: view.window!)
        stickerView?.frame.origin.x -= offset.x
        stickerView?.frame.origin.y -= offset.y
    // …
    }
}
When the gesture recognizers changes, i.e. the user moves their finger across the screen, we update the sticker view's frame, taking into account the offset at which the user initially lifted the view.
Lastly, as the user lets go, we animate the view back to the original position and remove it from the window once the reverse peel-off animation has concluded:
@objc
func gestureRecognizerDidUpdate(sender: UILongPressGestureRecognizer) {
    switch sender.state {
    // …
    case .cancelled, .ended, .failed:
        UIView.animate(
            withDuration: StickerView.animationDuration,
            delay: 0,
            usingSpringWithDamping: 1,
            initialSpringVelocity: 0,
            options: [],
            animations: {
                guard let view = sender.view else { return }

                self.stickerView?.frame = view.window!.convert(view.frame, from: view.superview!)
            },
            completion: nil
        )

        stickerView?.setIsPeeledOff(isPeeledOff: false, animated: true, completion: { [weak self] in
            sender.view?.isHidden = false
            self?.stickerView?.removeFromSuperview()
            self?.stickerView = nil
        })
    default:
        break
    }
}
Aren't you missing something, Robb?
Obviously, the interaction doesn't actually allow you to do anything meaningful with the view that is being manipulated, but there are some other details missing. For example, the `StickerView` doesn't take into account the transform of the original view. It's also not playing well with other gesture recognizers that might be installed on a parent scroll view for example.
Writing a full-featured drag and drop interaction would fill an article on its own. Maybe I'll revisit this topic in the future for a follow up post.
With these changes in place, we can now add an instance of PeelOffInteraction
to any we view we want to lift, for example a UICollectionViewCell:
public override func collectionView(_ collectionView: UICollectionView, cellForItemAt indexPath: IndexPath) -> UICollectionViewCell {
    let cell = collectionView.dequeueReusableCell(withReuseIdentifier: StickerCell.reuseIdentifier, for: indexPath) as! StickerCell

    cell.image = stickers[indexPath.item]
    cell.addInteraction(PeelOffInteraction())

    return cell
}
That's it. If you like to test the code out for yourself, you can find it on my GitHub account. Unfortunately, I've not been able to run it in the simulator, as it doesn't seem to support shader modifiers written in Metal, so an iOS device might be required for testing.
I hope you enjoyed this post. I think there are some exciting possibilities to better bridge UIKit and SceneKit for new custom View Controller transitions and the like. If you'd like to keep in touch, you can follow me on Twitter.
Thanks to my friends Felix, Dominik, Daniel and Chris for their feedback on this article and special thanks to Thoka for letting me use her stickers.
Posted in working-on